
You open the box, see a pile of poles and wire panels, and think: “What did I get myself into?” Relax. This shelving is designed for tool-free assembly. Most units go up in 10–15 minutes.
Step 1: Lay Everything Out First
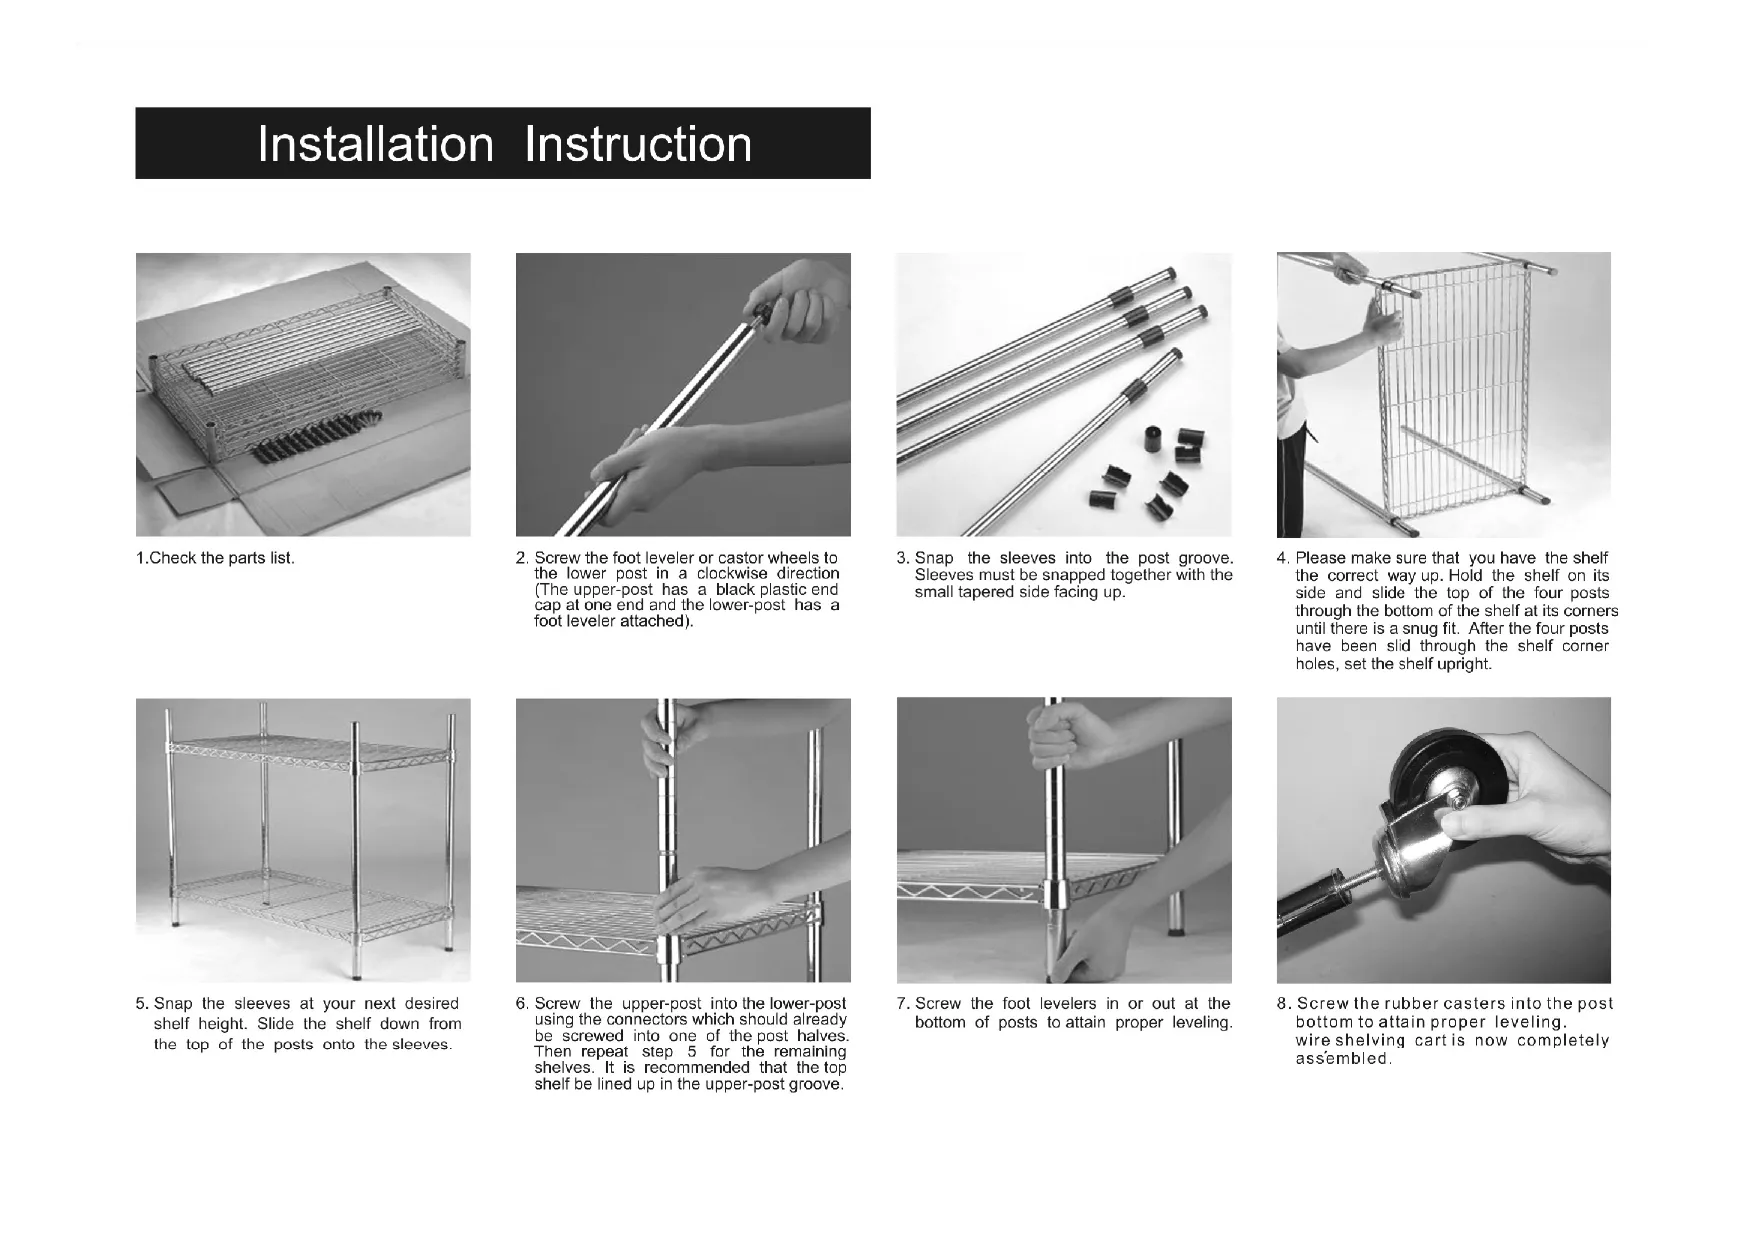
Confirm you have: 4 posts (upper + lower halves), your wire shelves, plastic clips (4 per shelf level), connectors, and leveling feet. Don't skip this check — hunting for a missing clip mid-build wastes more time than a 30-second inventory.
Step 2: Install the Leveling Feet
Screw the leveling feet into the bottom of each post. Hand-tighten. Done.
Step 3: Set Your Heights, Snap the Clips
Mark your desired shelf heights on the posts. Snap a plastic clip into the groove at each mark — 4 clips per shelf, one per post. You'll feel a distinct click when it seats properly.
Step 4: Build from the Bottom Up
Slide each wire shelf down over the clips at the four corners. Work bottom-up — it keeps the unit balanced and lets you verify spacing before locking everything in. After each shelf is seated, press down firmly at all four corners to make sure the clips are fully engaged.
Step 5: Level and You're Done
Check for wobble. If the floor isn't perfectly flat (most aren't), adjust the leveling feet. That's what they're for. Get a shelf quote
Things worth knowing:
For units over 72 inches tall, anchor the top to the wall with an L-bracket or anti-tip strap. A 5-minute job that prevents a very bad day.
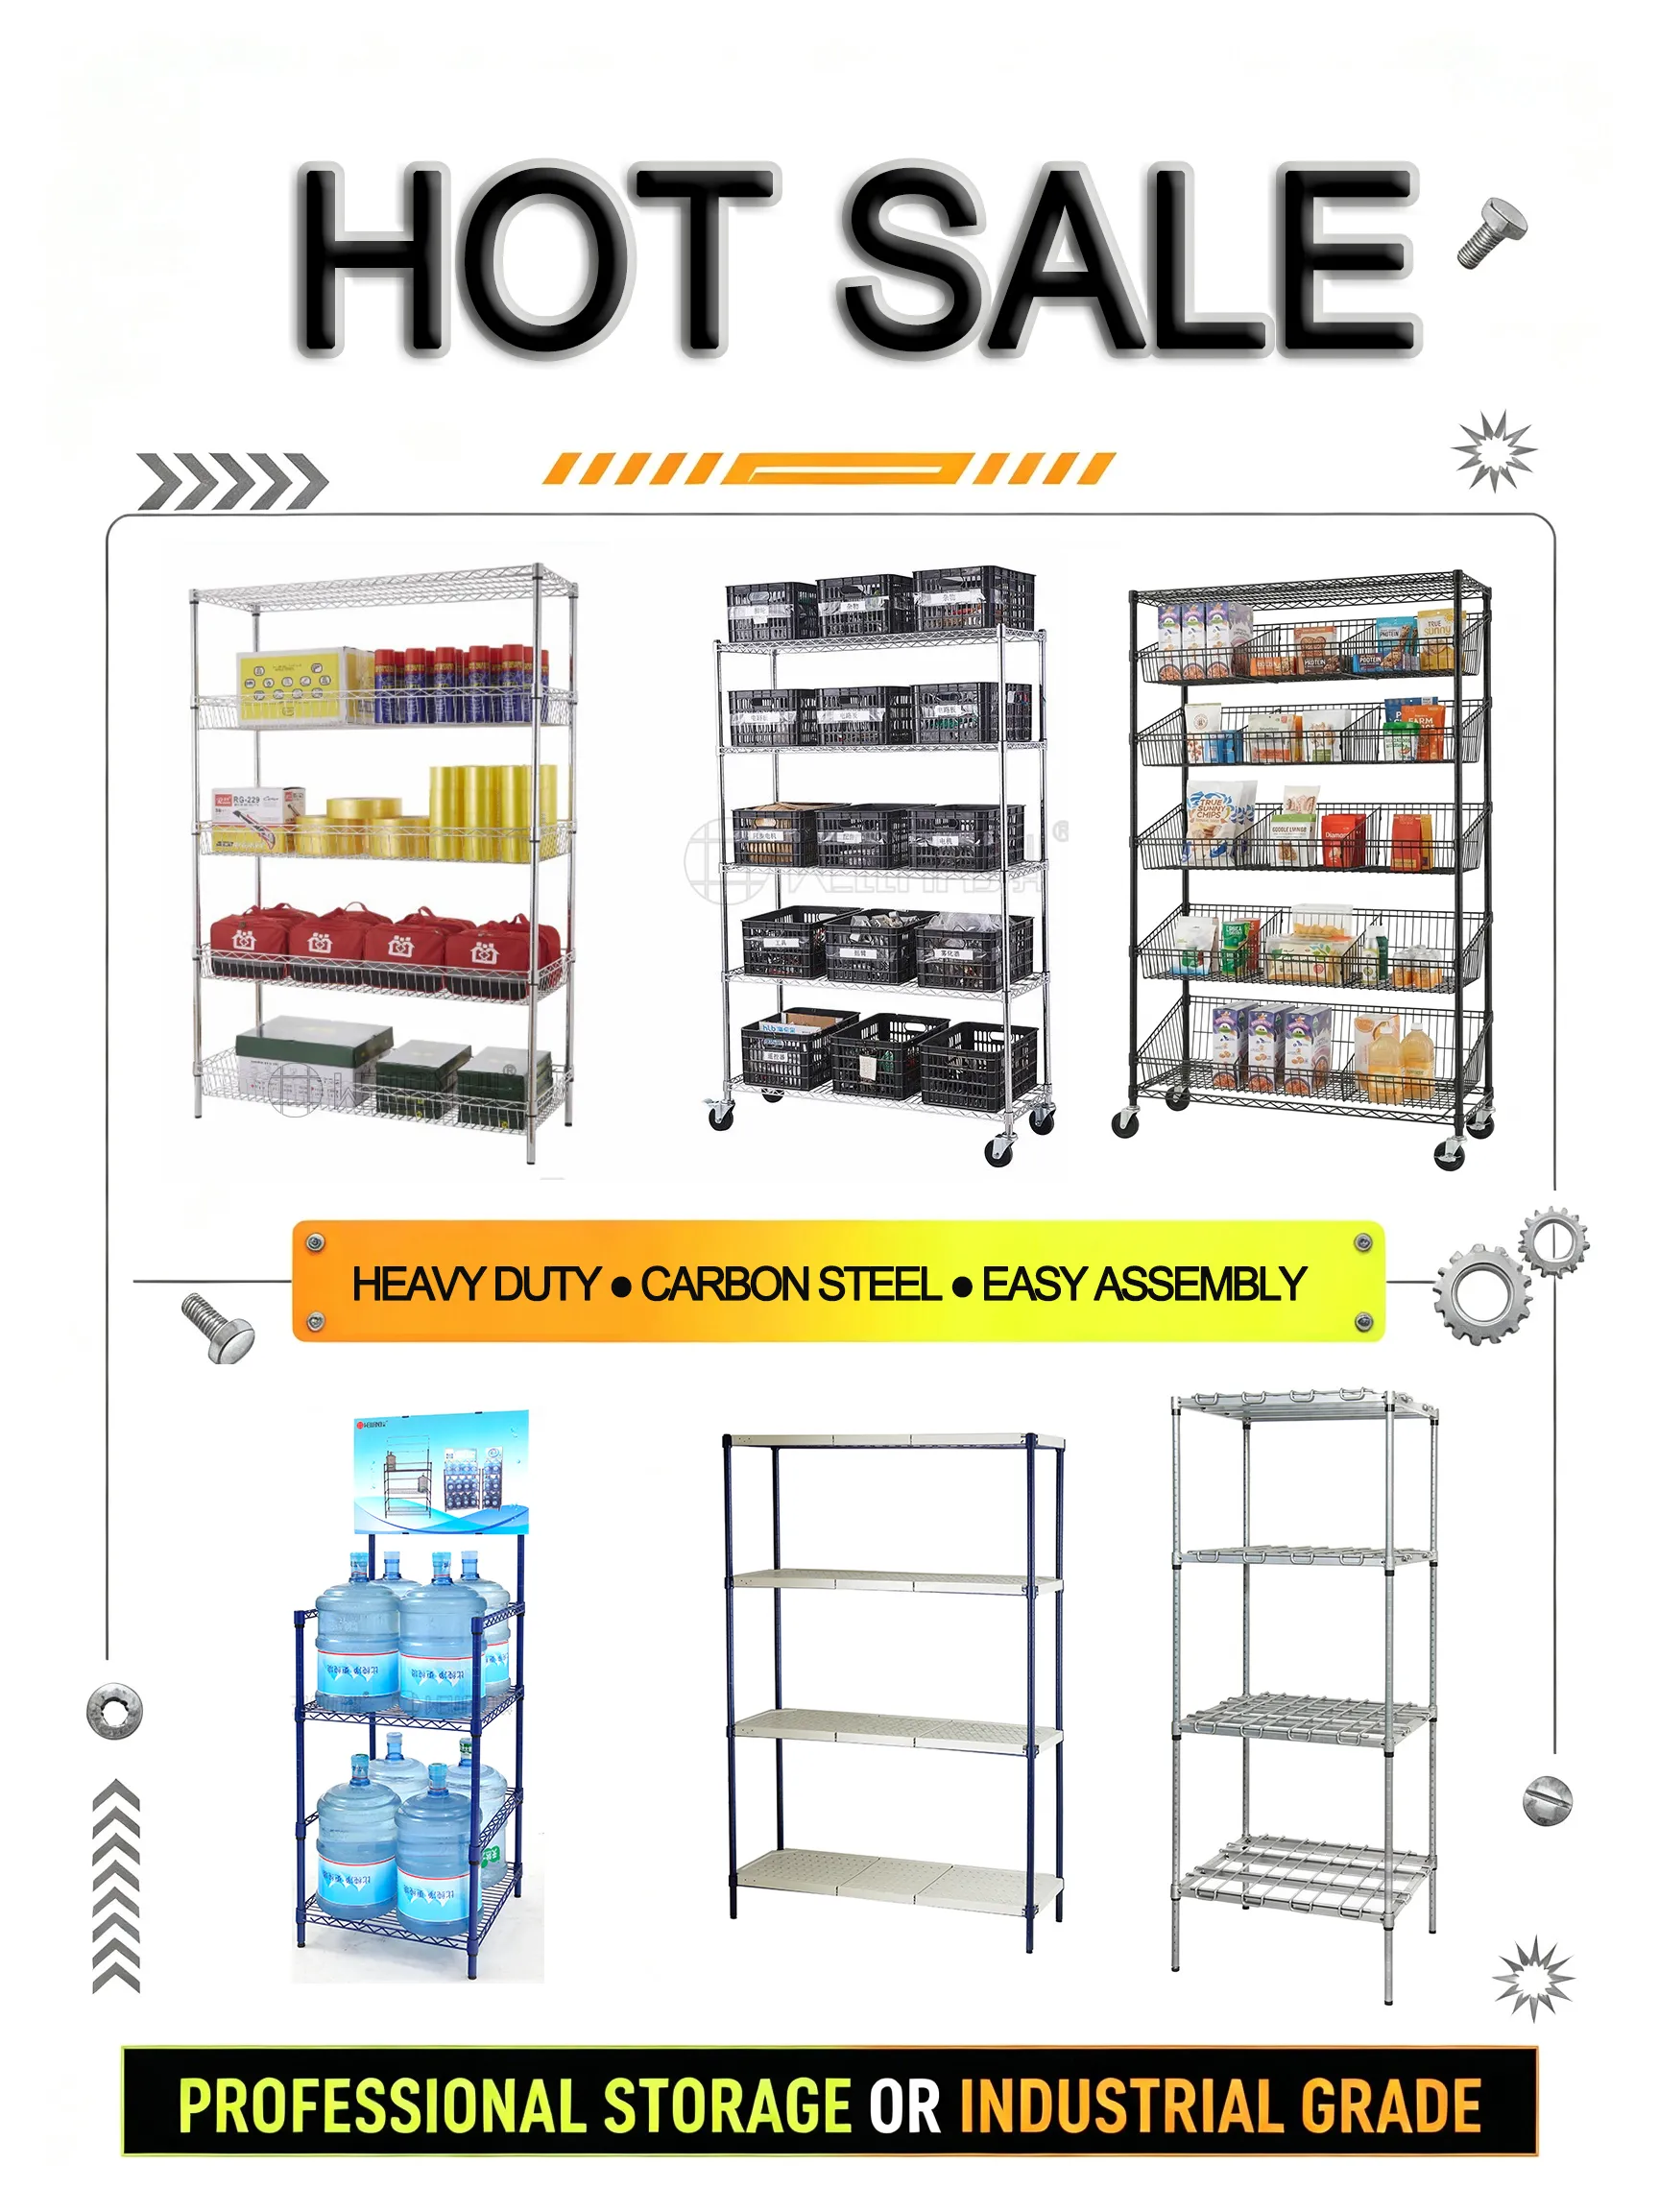
Don't exceed the weight rating. Standard wire shelving holds 300–800 lbs per shelf depending on width and gauge.
Using casters? Lock all four wheels before loading.
The bottom line: wire shelving is engineered so you don't need a professional installer. No tools, no crew, no downtime. That's the point.